
A photographer can fix lighting, straighten walls, and blend a bright window with a dim room. What we can't fix is a sink full of dishes, three days of mail on the counter, or a driveway with two cars blocking the front elevation. Prep is the part of the shoot that's entirely on you and the seller, and it matters more than most agents assume.
Why Prep Is Worth the Effort
The case for professional photography is well documented: homes photographed professionally sell 32% faster according to VHT Studios,1 and Redfin's research found homes shot with a professional camera sold for $3,400 to $11,200 more relative to list price.2 But that research assumes the photos are good, and photo quality has a ceiling set by how the home looks when the photographer arrives. A rushed, cluttered gallery undersells a home no matter how skilled the editor is.
Room-by-Room Checklist
Kitchen
- Clear counters down to two or three intentional items: a bowl of fruit, a cutting board, nothing else
- Remove magnets, lists, and photos from the refrigerator door
- Hide dish soap, sponges, and paper towel rolls
- Push in chairs and align stools evenly
Living Areas
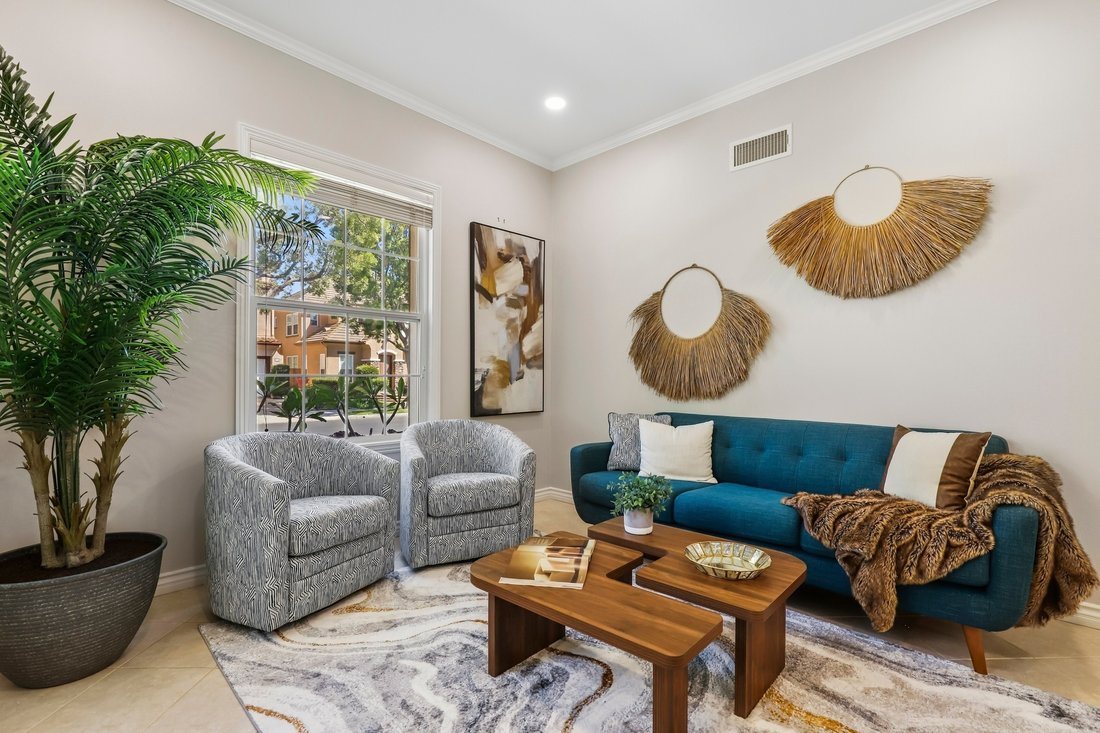
- Fluff and square up couch cushions
- Remove remote controls, chargers, and cords from visible surfaces
- Clear coffee tables to one or two styling pieces
- Open curtains and blinds fully to let in natural light
Bedrooms
- Make every bed, including guest rooms: a made bed reads as move-in ready, an unmade one reads as unfinished
- Clear nightstands except for a lamp and one small item
- Close closet doors unless the closet itself is a selling point
Bathrooms
- Put away toothbrushes, razors, and personal care products
- Close the toilet lid
- Hang a fresh, matching towel rather than whatever's currently in rotation
- Wipe down mirrors and fixtures: water spots show up clearly in wide shots
Exterior
- Move all vehicles out of the driveway and off the street directly in front of the home
- Coil hoses, put away trash and recycling bins, and stow yard toys
- Mow the lawn and edge walkways within a day or two of the shoot
The 24 Hours Before
Send this reminder to the seller the night before: turn on every light in the house, including lamps, before the photographer arrives: even during the day, lit lamps add warmth that flat overhead lighting doesn't. Put pets and their bowls, beds, and litter boxes out of sight. Empty the sink and run the dishwasher rather than leaving dishes in it. And do a final walk-through of the front entry, since it's usually the first and most-photographed room in the gallery.
Our own Getting Ready Guide is written directly for homeowners, not agents. It's the exact checklist we send before every shoot. Forwarding it saves you from re-explaining all of this yourself.
What Editing Can and Can't Fix
Professional editing corrects exposure, straightens vertical lines, balances color temperature between rooms, and blends bracketed exposures so a bright window doesn't blow out to white. What it can't do is remove a couch that's actually still there, hide a car in the driveway, or make a cluttered counter look intentional. Prep and editing solve different problems: one is about what's in the frame, the other is about how the frame is processed. Skipping prep and hoping editing will cover it usually shows up in the final gallery as an obviously edited-around mess.
Get the Getting Ready Guide
Send your sellers the exact prep checklist we use before every shoot, written for homeowners in plain language.
Open the Getting Ready GuideSources & Further Reading
Figures cited above come from the following industry research and official sources. We link to the original reporting so you can read the methodology yourself.
- Professional Real Estate Photography Sells Homes 32% Faster VHT Studios, via PR Newswire
- Homes Listed with Professional Real Estate Photos Sell Quicker and For More Money Redfin Research